> For the complete documentation index, see [llms.txt](https://docs-eb.toneden.io/llms.txt). Markdown versions of documentation pages are available by appending `.md` to page URLs; this page is available as [Markdown](https://docs-eb.toneden.io/grow-on-instagram/instagram-growth-playbook/how-to-create-the-instagram-growth-playbook-campaign.md).
# How to Create the Instagram Growth Playbook Campaign
## How To Create The Instagram Growth Playbook
In this video, you'll learn about our Instagram Growth Playbook and how to create it! You can start the process by visiting , located in the "Marketing" tab of your [Manage My Events](https://www.eventbrite.com/organizations/events) section.

{% embed url="" %}
In this video you
{% endembed %}
We *highly* recommend creating a video formatted for Instagram Stories Ads prior to making your Instagram Growth Playbook campaign. However, if it’s too time intensive to make a video creative, we also have some tips on utilizing our built-in Canva integration to spin up engaging image content!
{% embed url="" %}
**You can learn best practices for creating engaging video creative in the following guide:**
{% content-ref url="/pages/-MUP3ebhG-mF-NfJTMW2" %}
[How to Create Instagram Stories Ads](/grow-on-instagram/instagram-growth-playbook/how-to-create-instagram-stories-ads-for-growth-suite.md)
{% endcontent-ref %}
## Step 1: Select Accounts
The first step is to choose the Facebook advertising account you want the campaign to be created under in the Select a Facebook Advertising Account section.

* Choose the Facebook advertising account you want the campaign to be created under in the "Select a Facebook Advertising Account" section.
* Choose a Facebook Page & Instagram Account to post as.
{% hint style="info" %}
The ads in the Instagram Growth Playbook campaign will ***ONLY*** appear in Instagram Stories. The reason why you have to choose a Facebook Page is because Instagram is owned by Facebook.
{% endhint %}
If your Instagram account does not automatically populate once you have chosen the Facebook page, this is usually because the two accounts are not “linked.” Please remember to link your Instagram Account to your Facebook Page if you haven't yet:
{% content-ref url="/pages/-MILVmtVt7VBJRswBy79" %}
[How to Link an Instagram Account (Instagram Business Profile) to a Facebook Page](/getting-started/getting-started-with-facebook-ads-on-paid-social-ads/untitled.md)
{% endcontent-ref %}
## Step 2: Set Schedule
Select a campaign start and end date/time for your campaign**.**
**Recommended:** Toggle on "Run my ad campaign continuously" checked if you want your campaign to run continuously.

If you do not want your campaign to run continuously, you can uncheck the "Run my ad campaign continuously" button. From there, you would select an End Date as well as an End Time for your campaign.
{% hint style="info" %}
The Instagram Growth Playbook is meant to grow your brand & followers over time, whether or not you are currently promoting events. It is recommended to run campaigns “continuously.” Avoid setting an end date too soon in the future, such as a week out. This will not give the campaign enough time to maximize follower growth.
{% endhint %}
## Step 3: Design Story Ad
Add and customize your Instagram Story ad creative here in this step.
For image, select *+Add Image*. For video, select *+Add Video.* You can upload images and videos from your Ad Account and Facebook Page Library, keeping in mind our recommended dimensions. Or you can *Design Your Own* via our Canva integration or use Eventbrite Boost's *Design Studio*. Peep the top of this article for a video on how to use our Canva integration!

**Below are the requirements and recommendations for Instagram Stories Ads.**
Image:
* Recommended resolution: 1,080 x 1,920 pixels
* Maximum duration: 5 secs (Images are shown for five seconds by default)
* Maximum file size: 30 MB
* Supported image types: .jpg, .png
Video (if you have the proper content, this can help see better results)
* Recommended resolution: 1,080 x 1,920 pixels
* Recommended duration: 10-15 seconds
* Maximum file size: 4 GB
* Supported video types: .mp4, .mov
* Video quality: H.264 compression, square pixels, fixed frame rate, progressive scan
* Audio quality: Stereo AAC audio compression at 128kbps+
* Sound: Optional but highly recommended
If you'd like to use Eventbrite Boost's Design Studio instead of uploading your own creative, you can customize your Template by adjusting the following fields: Most liked images or most recent images from your Instagram feed.
Scroll down and select the number of images required according to your template selected. Select *Update Design* to refresh your story preview.

{% hint style="info" %}
We recommend using vertical video assets that are formatted for Instagram Stories. These are more engaging and tend to convert 20-30% better than images. Additionally, try not to go overboard with your creatives, sticking to 1-2 videos (or images) if on a smaller budget of $5/day.
{% endhint %}
## Step 4: Targeting Future Fans
The first step is to enter who you want to target on Instagram by selecting their interests. Take note of your potential reach below.

Add and proofread interests in the *Add Interests* section. The interests in the *Add Interests* section are what is targeted on Instagram. Sometimes a less relevant interest appears, so double-check your interests to make sure they are all relevant to your audience. To fill out this section, you will want to add interests that encompass your brand. These interests determine who the ad is sent to, so you will want to ask yourself: Who is my demographic? What are their common interests?
From there, you will want to add and proofread a list of 10 - 15 interests. For example, if you are a yoga studio, your interests may look like the following:
* **Yoga, Mindfulness, Hot Yoga, Yoga Studio, etc.**
{% hint style="info" %}
TIP: Hit the +2/+5 buttons below your interest list to pull suggestions from Facebook’s algorithm if you are looking for more ideas. Feel free to delete any suggestions that may not be relevant to your target demographic. For a Yoga studio, this may mean removing an interest such as "Cafés."
{% endhint %}
**The last thing you will want to do in this section is the “Select Locations” step. We have several options for location targeting: Recommended, Global, English Speaking, and Custom. Read more about each below.**
### **Recommended:**
Event creators want to get followers in the markets they host their events. Our system will automatically gather all the locations of past events you’ve held on Eventbrite, and make a list of these “Recommended” areas, broken down by the event name. This will determine where you should be advertising. Additionally, a 50-mile radius is added to each event and its corresponding location to ensure the audience size is large enough. You can add or remove locations in this section.
*Eg: If you are a Yoga Studio in Nashville, this section will include any events you’ve held in the past, and reach those event locations plus a 50-mile radius (Nashville +50 miles). If you hold events in multiple cities, double check all of your past events are appearing. You can remove events as needed, or add extra locations. Be mindful of your “Potential Reach” down below.*
### **Global**
Global event-creators & brands (think: do you hold events across the world? Do you hold virtual events available to anyone, regardless of location?) should select “Global.”
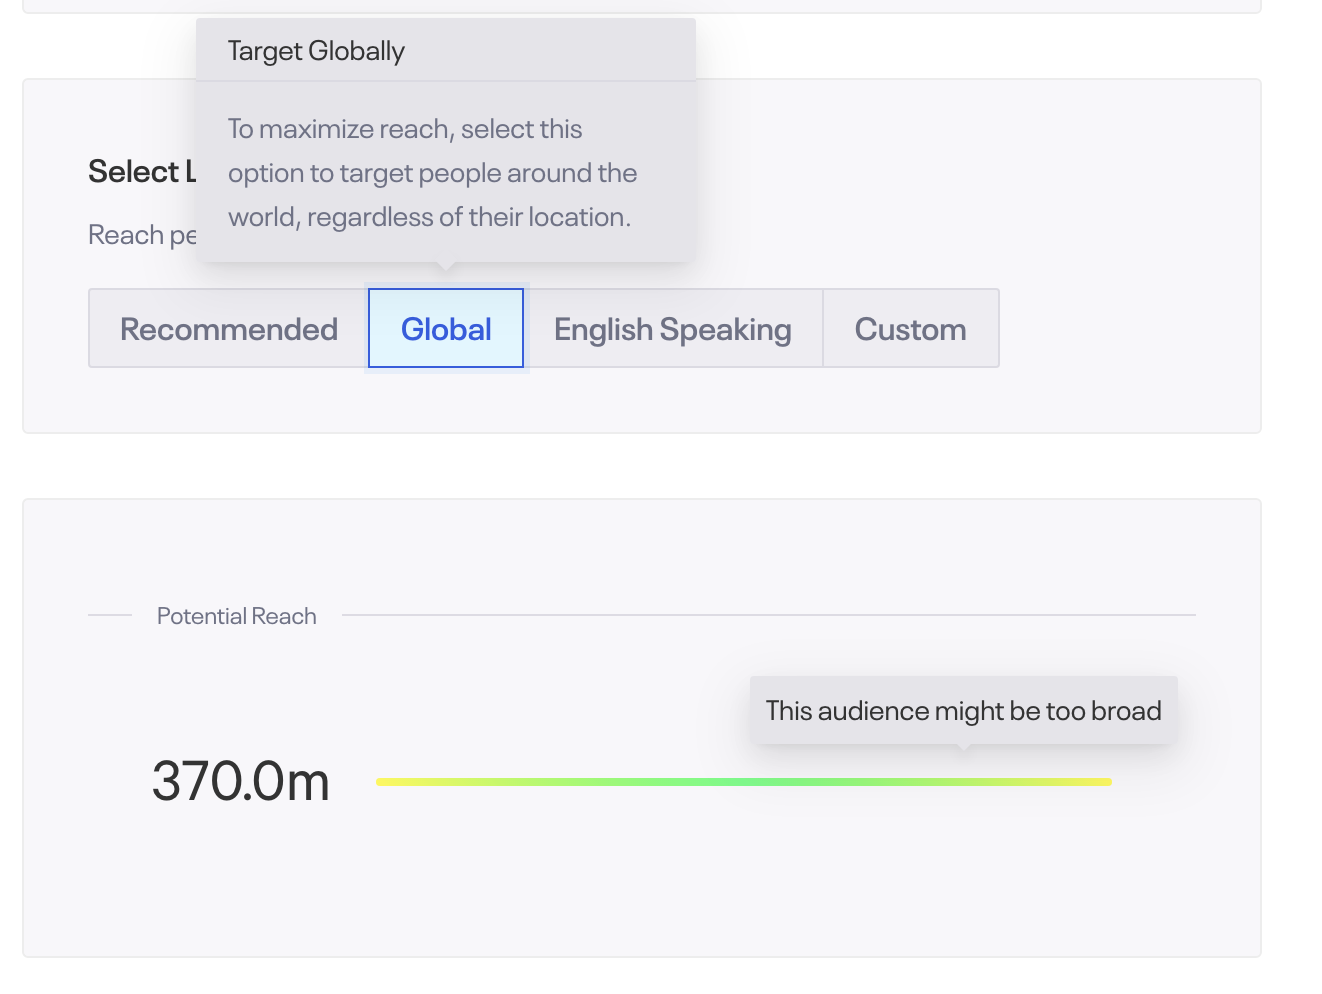
To maximize reach, select this option to target people around the world, regardless of their location. We will serve the ad to countries around the globe, and optimize your budget accordingly. Even though some countries may be cheaper to advertise in than others, we will ensure your spend & reach is proportional across all countries according to those advertising costs.
### **English Speaking**

Online event-creators, & wider-reaching brands that run events in English, should select the “English Speaking” option to see best results. This will send your ad to places such as the US, UK, Canada, New Zealand, and Australia.
### **Custom**

If you prefer to be more hands-on with your location targeting, feel free to select the “Custom” option. Here, you can add anything you want: countries, territories, cities, neighborhoods, etc. Note you can change the radius for each location, as well, by clicking on the +50 mi and adjusting accordingly.
We recommend sticking to the areas where you host events, have fans/buyers in, or both. Please be aware you cannot add overlapping locations, ie United States and also Los Angeles – you would select “United States” or “Los Angeles,” but not both.
## Step 5: Modify Budget
Set a daily budget between $5-$30 for your campaign. For growth campaigns, we recommend sustained spending over a long period of time versus a typical 7-10 day campaign.
**Most users are able to start campaigns at $5/day (USD). You can either remain at this daily spend or increase the spend if you have the budget and feel your campaign is doing well, usually after 1-2 weeks.**

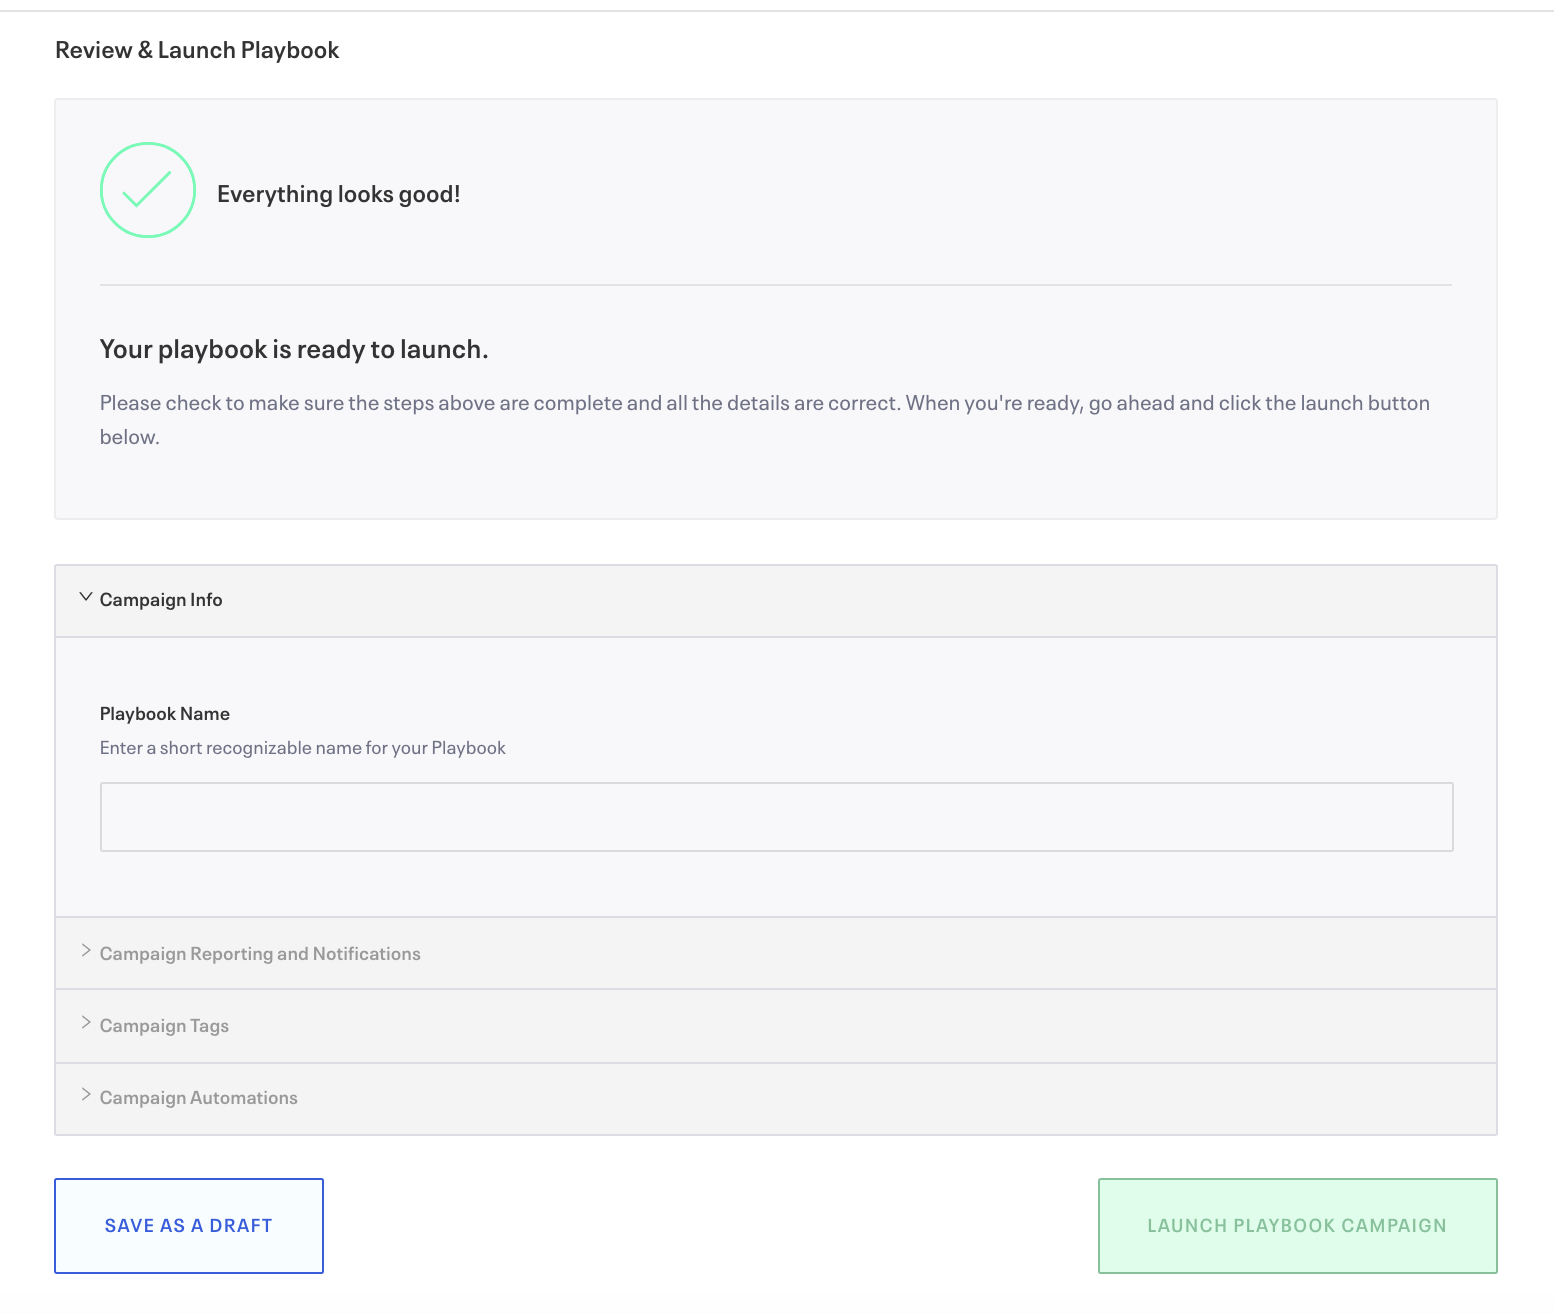
## Step 6: Review Ad Campaign
Review the details of your ad campaign and confirm everything looks good!

## Step 7: Launch Playbook
After you've double-checked everything and created a Playbook Name for this campaign, press *Launch Playbook Campaign* and you're good to go!
Note you can "save as a draft" if you do not wish to launch your campaign right away.